Battery isolators do just what it sounds like: They isolate your RV “house” batteries from your vehicle’s SLI (starting-lighting-ignition) battery. Without such isolation, your house battery and SLI battery will seek to maintain the same charge level—and if that’s too low to start your rig, you’re left in the lurch. At the same time, the isolator allows your house batteries to charge up by drawing on your chassis or tow vehicle alternator.
It used to be there were just two kinds of isolators; now there are three. How can you choose what’s best for you?
Solenoid Type Isolators
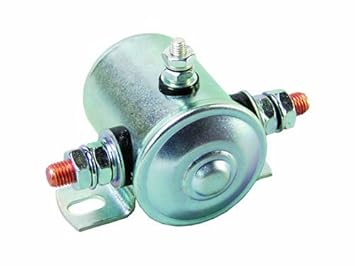
The simplest battery isolator is nothing more than an electromechanical relay. Somewhat comparable to a vehicle starter relay, the solenoid is a big electrically operated switch. When your vehicle is running, current throws the switch closed to allow current to flow from your vehicle charge system back to your RV. Turn the ignition system off, the relay switch opens, preventing current to flow from either the chassis to the RV, or vice versa.
The solenoid isolator is relatively inexpensive—it’ll set you back less than $20. You simply need to find a source of power from a circuit that’s only hot when the ignition system is “on,” and run it to the relay. Another wire connects the relay to the positive post of the SLI battery, and another runs back to the RV.
The solenoid doesn’t use any power in itself, other than a tiny amount when the ignition system is switched on. These isolators are relatively trouble free, but like any mechanical device are subject to occasional failure.
Here's a popular solenoid isolator. Tekonsha 7000 12 Volt 3 Terminal Battery Isolator
Solid-State Isolators
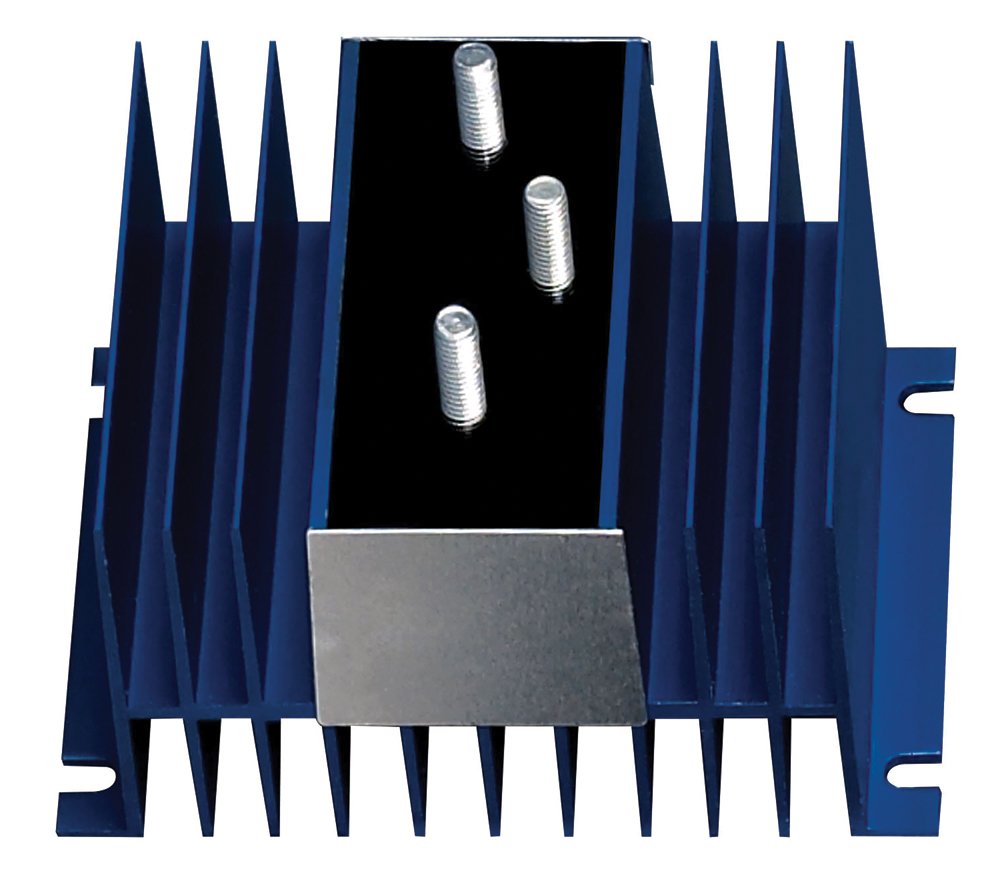
Solid-state battery isolators utilize electrical diodes, which act like a one-way valve. Current can flow from the vehicle alternator back to the RV, but not from the SLI battery. This keeps the SLI battery charged up, and the house battery too, without either one of them “seeing” each other. This prevents either battery from drawing down the other.
Solid-state isolators are not 100 percent efficient—they tend to add a little resistance to the circuit, reducing the effective amount of voltage to the batteries by over half a volt. That may not sound like a lot, but to quickly charge batteries, more voltage is important. If you’re a boondocker relying on your alternator to recharge your house batteries, a solid-state isolator will be a penalty.
Battery isolators of this nature are rated by how much current they can carry. You’ll need to get an isolator with a rating equal to or larger than your alternator output. A 70-amp isolator will typically set you back in the neighborhood of $40 or more. Here's one that handles 70 amps but beats the $40 figure: Bussmann (RB/BI-70A) 70 Amp Battery Isolator
Electronic Isolator System
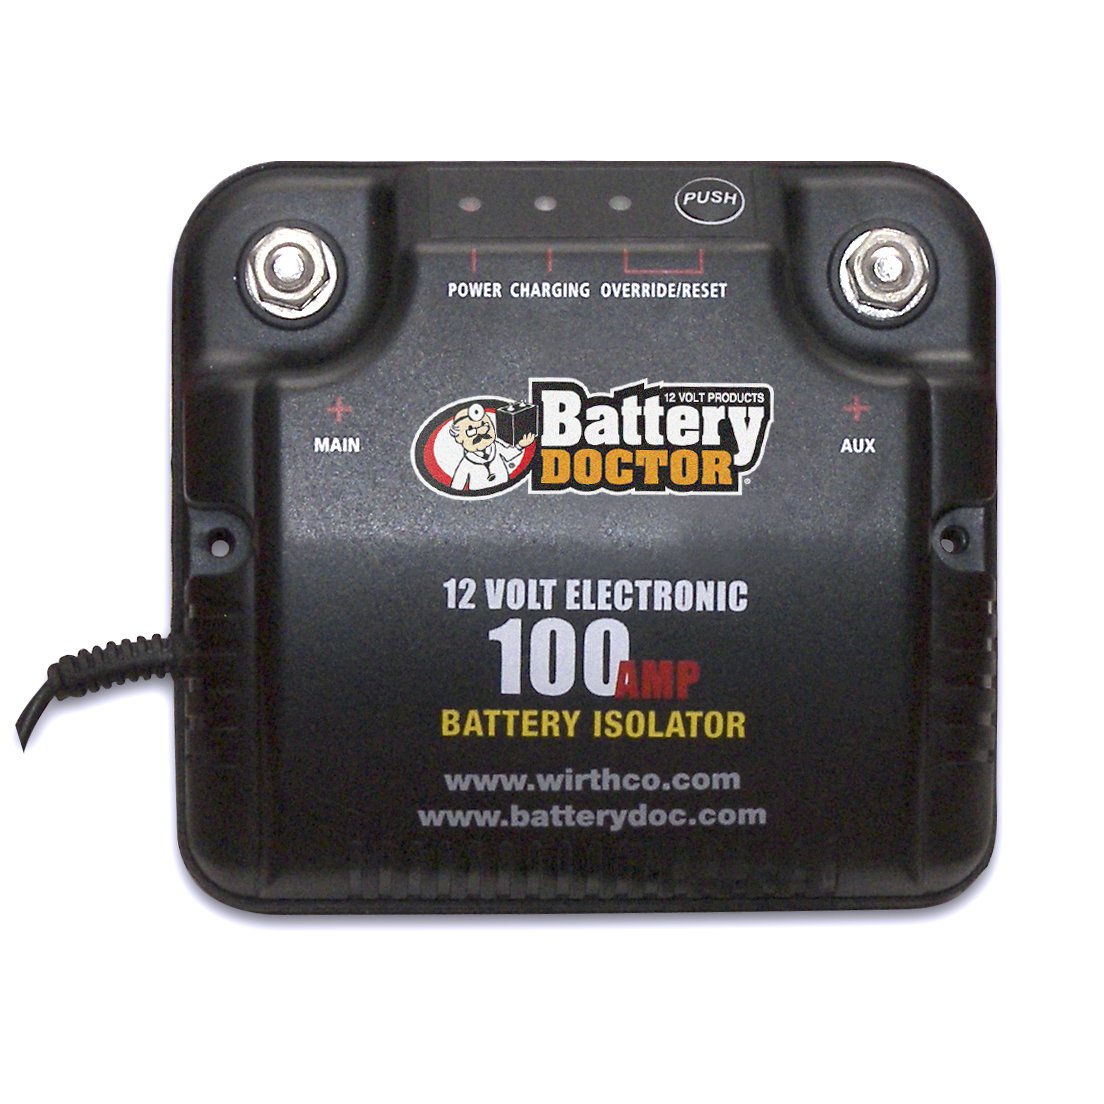
Compared to the last two styles of isolators, a relatively new entry to the battery isolator field is the “smart isolator.” We installed a Battery Doc isolator from WirthCo Engineering a few years ago when they were first on the market. Wirthco asked us to check it out and write about it. Like other isolators, this electronic isolator prevents SLI and house batteries from depleting one another. Unlike regular solid-state isolators, however, it claims little voltage drop and adds another feature: Should your SLI battery run down while your house batteries are still full, a bypass switch allows you to temporarily run voltage from the house battery bank back to the chassis—thus giving yourself a jump start from the house batteries.
In normal operation, the Battery Doc isolator senses the charge level of the SLI battery, charging it before sending charge current to the house batteries. Once the SLI battery is charged, full charge current is sent to the house batteries, always giving priority to making sure you can get your running system started. Further, if there is a short in either the house or SLI system, the isolator will detect this and stop current flow to the shorted circuit.
Installation of this smart system is straightforward. A heavy lead goes from the SLI positive post to the isolator; another is sent “down the line” from the isolator to the positive post of the house battery bank. The company does recommend the use of a fuse or circuit breaker just prior to the connection of the house battery—this is to protect the wiring between the isolator and the house battery from damage should a short occur in this wire. This will prevent the house battery from shorting. Our Battery Doc has not given us an ounce of trouble. Here's a link: WirthCo 20092 Battery Doctor 125 Amp/150 Amp Battery Isolator
Final Thoughts
Regardless of what battery isolator system you settle on, to make your system work well, you’ll need to properly size your wiring running to the house batteries. Typically RV manufacturers provide a “charge wire” running through the multi-pin trailer connector. The wiring is often so grossly undersized that it’s a wonder anything ever gets from the alternator to the house batteries. To quickly charge depleted batteries, you need higher current and voltage.
In practical terms, one authority tells us that the typical vehicle alternator may send 15 to 20 amps of current to a deeply discharged battery. Let’s say your trailer’s house batteries are 20 feet back from the alternator. If you use two wires to charge (a “hot” wire and a return wire), this is actually a two-way trip, so in reality your batteries are effectively 40 feet away from the alternator. A quick look at a wire size chart reveals that to send 20 amps over 40 feet of wire, you’d need to use 6-gauge wire for your installation. This may sound like overkill, but in reality, if you use smaller gauge wire, the voltage drop created by the smaller wire will dramatically increase the amount of time it takes to charge your batteries.
ALWAYS follow the manufacturer’s installation instructions, and for safety’s sake, don’t wear your watch, rings or other jewelry while working with an electrical system.


